

Its time to begin the hard work. Removing the dashboard, and removing the wiring from the dash to make it easier to pull later. Im going to remove enough of the dash, so that I can still drive the car to the workshop.
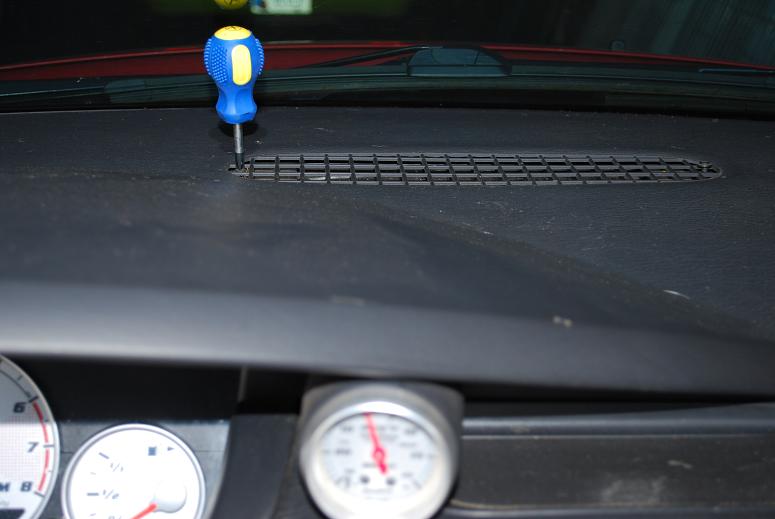
First off, heres a tip for those of you that might someday want to remove your dashboard, or at least the dash topper. Theres two screws, one on each side of the dash thats accesible after you open the doors. Then, there are two hidden screws in the main defroster vent that you need a small stubby screwdriver to reach. Im only posting this, because it can be hard to find where these are, especially if you have not done this before.

After removing what feels like 100-150 screws, bolts, multiple steel reinforcement brackets, the passenger airbag, and lots of plastic panels, this is what you’ll have.
Caption: Uh, No officer, I have no idea how fast I was going.
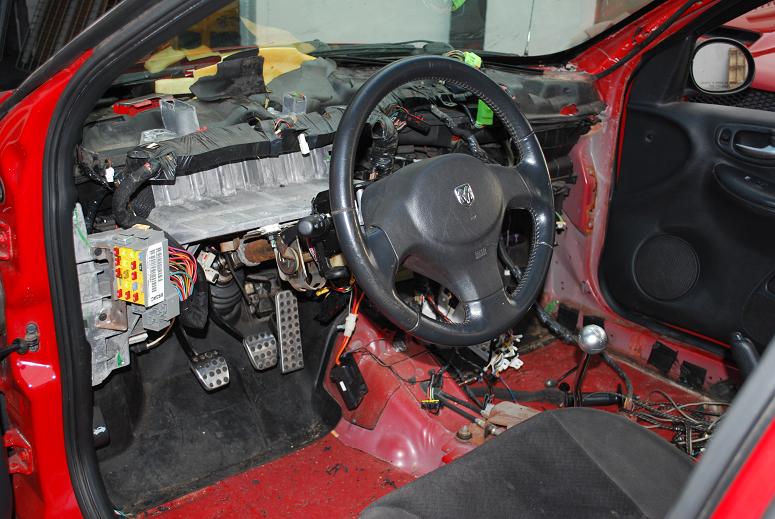

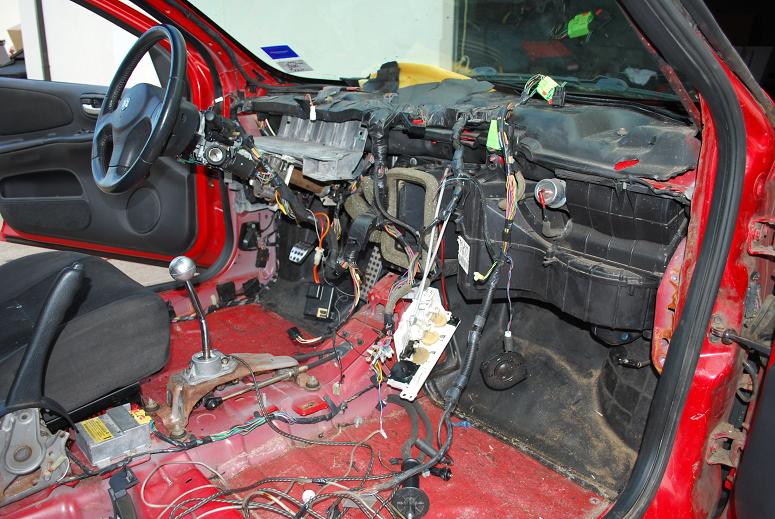
Still need to remove the air conditioning blower assembly. Otherwise, the dash is completely stripped.
The donor car is a salvage car, due to a heavy hit on the passenger side. Look at this sheet metal, it is slightly bent because the body shop didnt straighten this out enough.
The car was hit so hard, the doors were crushed in, and the entire dash shifted to the left, breaking off some of the tabs holding the AC blower assembly in place. Amazing!
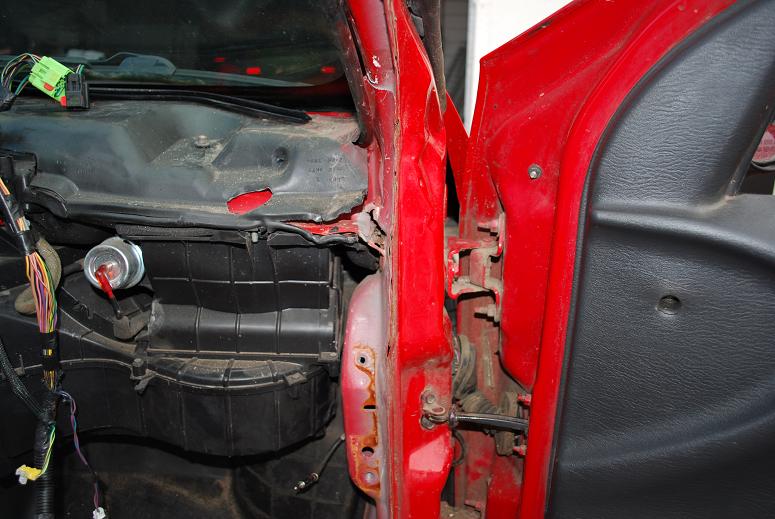
Lord only knows how much bondo is caked onto this twisted up sheetmetal here.
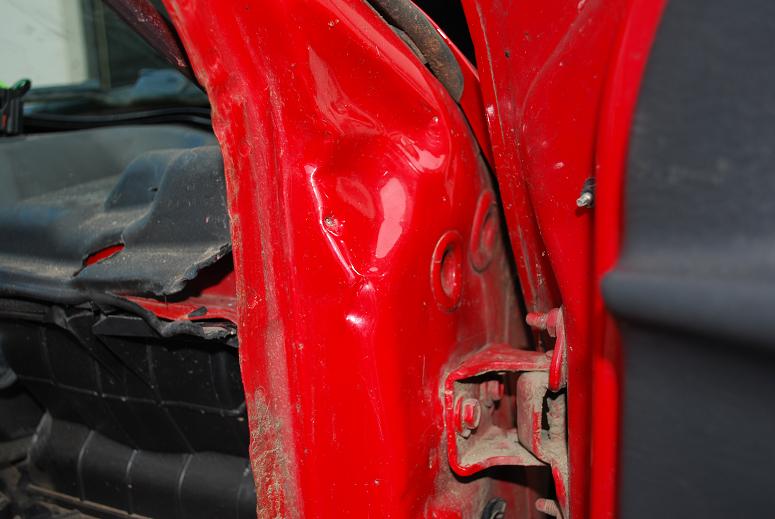
Wait a second.. Why is the paint cracking here.. Is it because its got several pounds of bondo underneath the paint that has expanded and contracted in the Texas heat ? Naaah.

Next up: Remove the AC blower assembly.
